The Bunsen Burner
This is a lesson summary. The full lesson can be viewed by purchasing an online course subscription.
Learning Objective
In this lesson we will learn about the different parts of a Bunsen burner, and how to use a Bunsen burner correctly and safely in a science laboratory.
Learning Outcomes
By the end of this lesson you will be able to:
- Identify the different parts of a Bunsen burner.
- Describe the different Bunsen burner flames and explain when each should be used.
- Describe the steps involved in the safe operation of a Bunsen burner.

(Image: Kim, Adobe Stock)
Lesson Summary
- The main parts of a Bunsen burner are:
- The barrel.
- The base.
- The air hole.
- The collar.
- The gas inlet and rubber hose.
- There are two types of Bunsen burner flame:
- The yellow safety flame.
- ▸ Less hot flame
- ▸ Highly visible
- ▸ Use whenever you are not heating something
- The blue heating flame.
- ▸ Hotter flame
- ▸ Harder to see
- ▸ Use only when you are heating something
- There is a correct procedure that must be followed every time you light a Bunsen burner:
- Always wear the correct safety gear.
- Always light a Bunsen burner with the collar closed.
- Only turn the gas tap on when a lit match is above the barrel.
- Always extinguish a Bunsen burner flame by turning off the gas tap.
- Always follow the safety rules when using a Bunsen burner.
- Only use a Bunsen burner for the purposes instructed to you by your teacher.
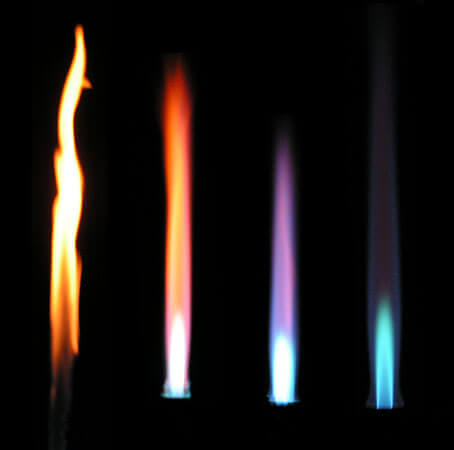
(Image: Jan Fijałkowski, Wikimedia Commons)
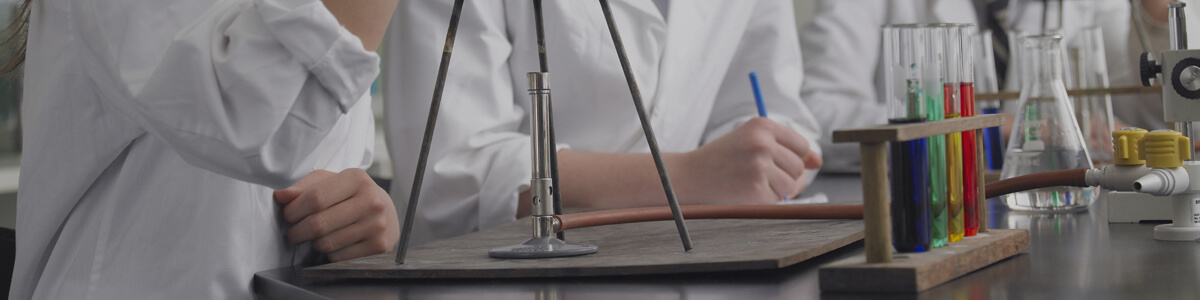
(Header Image: biker3, Adobe Stock)